
TEE Probe Repair Transesophageal Transducers
Repair of insertion tube, articulation, distal tip and handle, with three inspection stages a standard probe never sees.
A TEE transducer is the only probe in your department that goes inside a patient, gets bitten, and is then reprocessed with high-level disinfectant, several times a week, for years.
It is also the probe most likely to come back. Our single most-repaired model is a TEE probe: the Philips X7-2t, with 23 repair orders on 16 individual probes. That is not a flaw of the probe or the department. It is what the application does to the hardware.
Three inspection stages a standard probe never sees
That is why every TEE probe we repair passes three inspection stages a standard transducer does not: mechanical movement, handle and insertion tube. A workshop that runs your TEE probe through a standard-probe protocol is not looking at the parts that actually fail.
The three most common causes of TEE probe damage
Fluid ingress
The most costly and the quietest. A failed seal, a pinhole in the insertion tube or a hairline crack at the tip lets disinfectant into the shaft. The probe keeps imaging while the damage spreads inward: first the wiring, then the articulation, finally the array. By the time the image fails, it is no longer a seal repair.
Bite damage
Teeth against the insertion tube, where the sheath is thinnest. Visible bite marks are the obvious case. The dangerous case is the bite that broke the sheath without leaving a visible mark, which only a leak test finds.
Articulation failure
The bending section carries a mechanical control system through a flexible shaft that gets coiled, hung, transported and reprocessed. Control wires stretch, the bending mechanism develops play, and the tip no longer follows the control knob. Clinicians usually notice this first, often as the last stage of damage that started somewhere else.
How to reduce TEE probe repairs
Many TEE repairs could have been caught earlier. Four habits make the difference:
- Leak test before every use, not only when something seems wrong. A leak found early is a seal repair; the same leak after a week of reprocessing can be a shaft rebuild.
- Always use a bite guard. It is the most effective single measure, and the easiest to skip under time pressure.
- Protect the distal tip in transport and storage: hanging storage, tip protection, no tight coiling.
- Train everyone who handles it, because articulation damage follows handling more than age.
None of this is a secret; it is in your manufacturer's instructions for use. It just needs to become routine.
TEE probe repair services
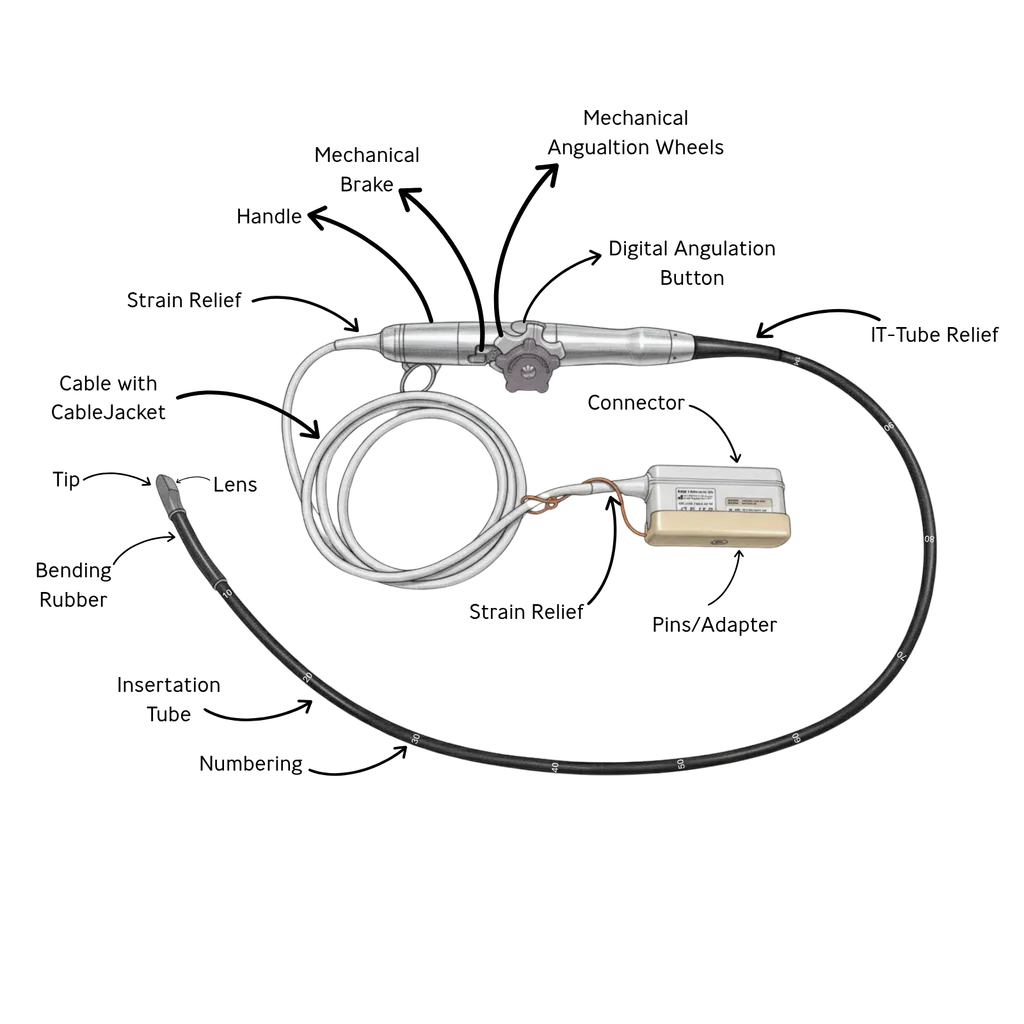
Insertion tube and outer sheath
RequestRecoating or replacing the sheath to restore the sealed barrier.
Articulation and bending section
RequestControl wire tension, bending mechanism, full range of motion restored and checked.
Distal tip and acoustic window
RequestLens and window repair, with the array assessed before anything is rebuilt.
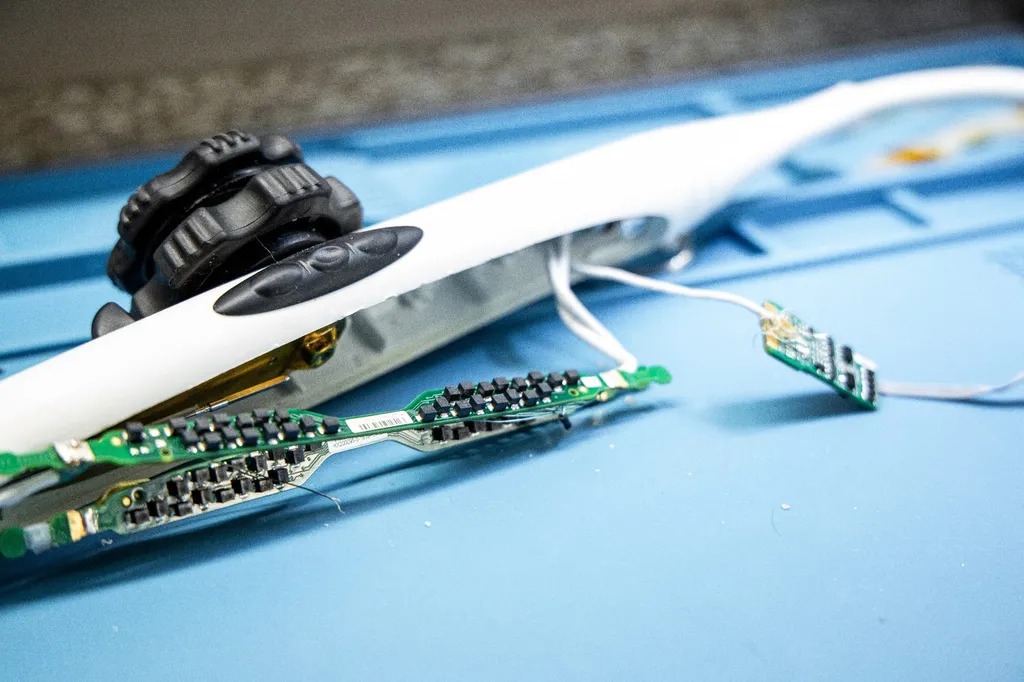
Handle and controls
RequestControl knobs, locking mechanism, housing and seals.
Electronics, cable and connector
RequestTested to the same regime as every other probe.
Limit: lost array elements cannot be restored by component-level repair. We diagnose it and tell you plainly, then discuss an exchange or replacement.
Our TEE inspection: nine stages
- 1
Incoming inspection
Overview photos · EN 62353 electrical safety · functional test · mechanical movement · visual inspection · handle · insertion tube · summary · technician statement. The three highlighted stages exist only on our TEE protocol.
- 2
Leak test
The measured value is recorded in the protocol in µA. You see the number, not just a tick.
- 3
Report and quote
Findings with around 19 photos per inspection and a clear recommendation.
- 4
Repair
Only what you approved.
- 5
Outgoing inspection
An independent second protocol, including leak test and full articulation range. Both protocols are archived, locked against later changes, and yours to keep for your device file.
Supported TEE Probes
We repair TEE probes from all major manufacturers
Frequently asked questions
Restore Your TEE Probe Safely
Trust our ISO-certified process for patient-safe TEE repair
Explore Other Probe Repair Services
Specialized expertise across every major probe technology.
Standard Probe Repair
Bridging the Gap Between Budget and Performance: High-end repair solutions for standard transducers that keep your hospital's workflow seamless and cost-effective.
Learn more3D/4D Probe Repair
Bringing Depth Back to Your Diagnostics: Our technicians specialize in the delicate inner workings of volume probes, providing the high-tech care your most advanced imaging tools deserve.
Learn more